Written by Wendy Murdoch
Hopefully by now you have come to the understanding that the more vertical, level and balanced you sit on your horse the easier it is for him to perform his job. In this lesson, you will learn how to override the influence of both the horse and the saddle, so that you remain level in the saddle.
Keeping your seat level is particularly important when riding any lateral movements. If your seat isn’t level, then the horse will not be able to lift his back up evenly underneath you – one of the primary goals of lateral movements. If you try to keep both seat bones in contact with your horse, and your horse and/or saddle isn’t level, you will never be able to get your horse straight and through his back. Therefore, you need to know where level is without simply relying on the feedback from your seat bones.
I can hear some of you now “but aren’t I supposed to push down with one seat bone to get my horse to bend, canter, turn, etc… (You can fill in the blank).” To put it simply, the answer is no. If you are pushing down or dropping your seat bone how is your horse supposed to come up? (Remember, there is a big difference between pushing down and lengthening down. See Section 3 of my book, Simplify Your Riding.)
Raising and lowering one seat bone
Often times students tell me that they don’t feel both seat bones evenly, they physically feel the two seat bones in different places on the saddle, or that they sit on different parts of their seat bones. This lesson will help clarify what’s happening in your seat, and how to solve the problem.
Begin by sitting on a flat level surface. I prefer a plastic mounting box because it is generally available near the arena, works for most people (unless you have very long legs), and it is pretty stable. Other things like a bench or a chair without arms will work as long as they are stable. If you are using the 2-step mounting box, try flipping it on its side and sit on the long edge.


Photo 1
1. Bruno is sitting on a 3 step-mounting box with both seat bones on the box.
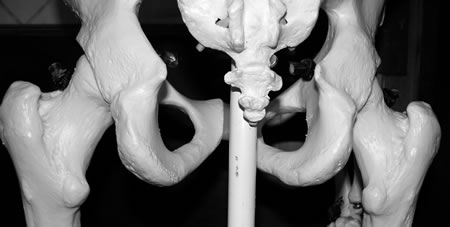
Photo 2
2
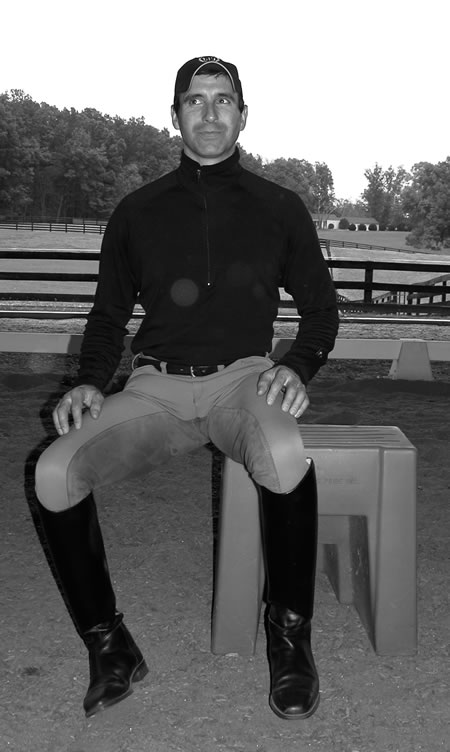
Photo 3
3. At first this position is awkward. Bruno is sitting with only his left seat bone on the box. Notice that his right foot is rolled to the outside. His eyes are looking to the right, his right seat bone is dropped down, and he is holding his breath.
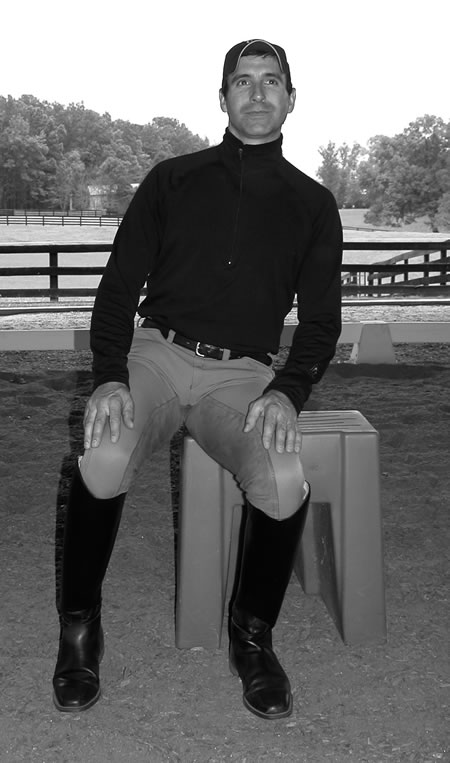
Photo 4
4. In order to raise the right seat bone, Bruno has leaned to the left.
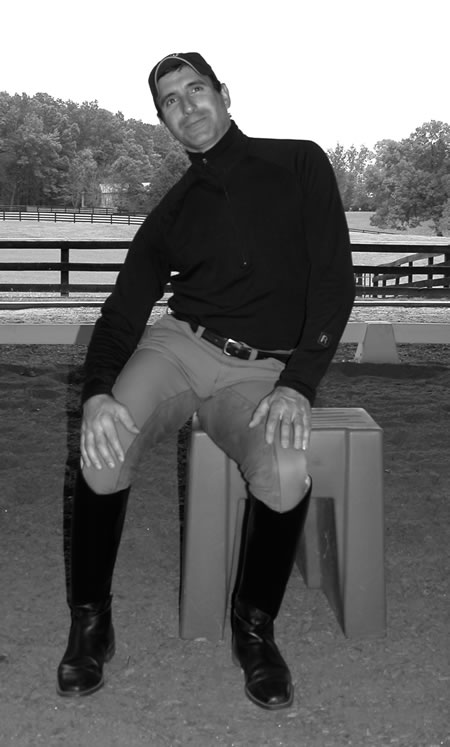

Photo 5
5. Bruno is demonstrating how some people collapse in the ribs when raising the seat bone up. Notice that his head has tilted to the right towards the raised seat bone.
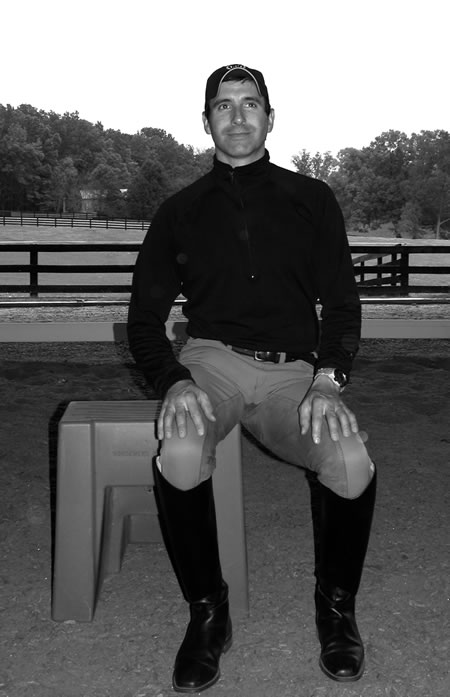

Photo 6
6. The inside edge of the right seat bone is catching on the edge of the box.


Photo 7
7. Bruno has rocked his weight onto the outside edge of the right seat bone when he raises the left seat bone.
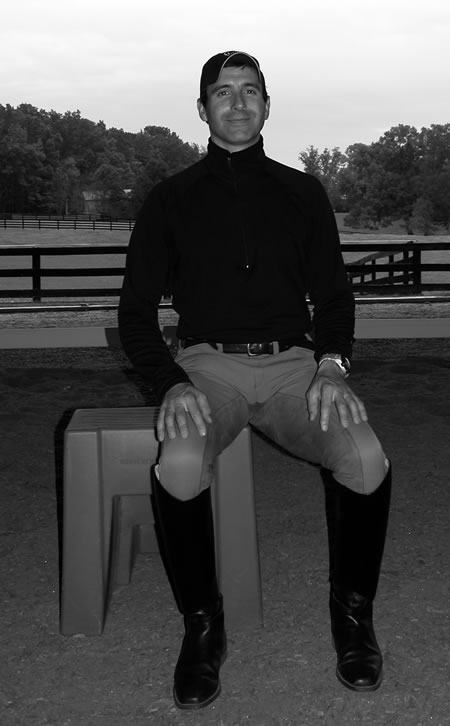

Photo 8
8. Bruno has found the middle between raising and lowering the floating left seat bone.
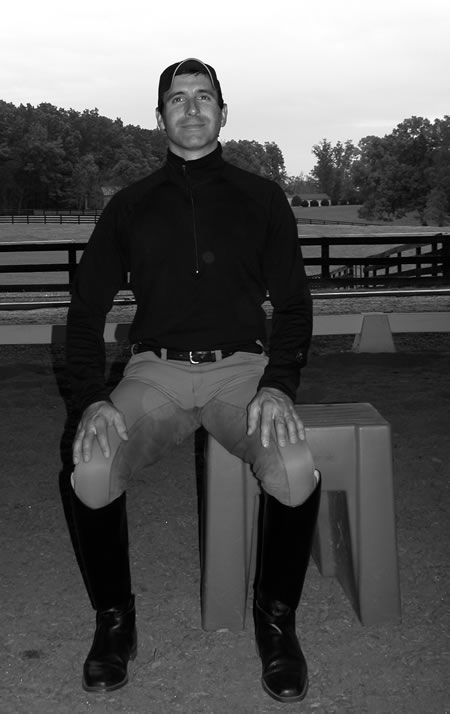
Photo 9
9. Compare Photos 4, 5, and 9. Notice how Bruno’s head reflects his level seat.
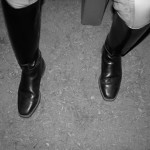
Photo 10
10. Keeping the same width between your feet, move floating side foot forward 1" or 2", less if this is too difficult.
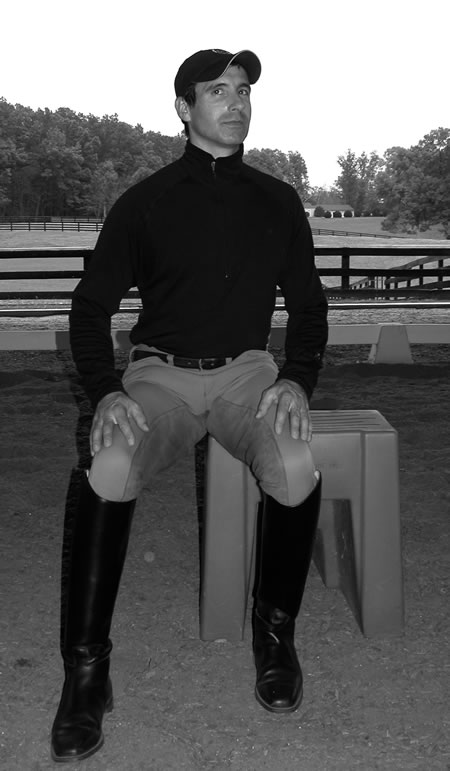
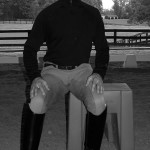
Photo 11
11. Bruno is attempting to sit with his right leg forward. It is difficult for him on this side. He has rolled to the outside of his right foot and stiffened his arms and head. His right seat bone has dropped down.


Photo 12
12. Bruno is able to keep his pelvis level and move his left knee forward from the hamstring (underside) of the leg without excess tension. This causes him to turn slightly to the right.
Sit with both seat bones on the box (Photo 1). Notice if you feel both seat bones touching. Do you feel one more than the other? Do you feel different parts of your seat bones? Seat bones are not simply points. They have length and width, getting thicker at the back (towards the hip socket) and thinner at the front where the seat bone curves up to become part of the pubic arch (Photo 2).
Place your right hand underneath your right seat bone. Feel how much pressure there is on your hand. Change the angle of your pelvis by hollowing or rounding your back, and feel how the seat bone’s shape changes when different parts of its length are in contact with your hand. Remove your right hand and feel your seat bone on the box. Repeat with your left hand underneath your left seat bone.
Now sit to the right with only the left seat bone resting on the box (Photo 3). Notice what you do to accomplish sitting this way. Do you lean, tilt, grab the box or angle your feet and pelvis to feel secure? Sit back in the middle of the box again. Take a moment to consciously recognize what you were trying to do to sit off to one side. Then sit to the other side and find out if this is harder or easier. Sit back in the middle and rest.
Now sit with your left seat bone off the box. Slowly raise and lower your left seat bone. If you find this extremely difficult then change to the other side and see if it is easier. Notice what happens when you raise and lower your seat bone. Do you tilt, lean, (Photo 4) grab the box or collapse through the rib cage (Photo 5)? Are you holding your breath? Sit in the middle and rest.
Sit off to the right side and see if it is different with your right seat bone off the box. Notice that as you raise and lower your seat bone, you are rolling across the width of the seat bone that is still on the box. Rest.
When the floating seat bone is lowered you are catching the inside edge of the supporting seat bone on the box (Photo 6). When the floating seat bone is raised above level you are rolling to the outside edge of the supporting seat bone (Photo 7). When you are in the middle, the floating seat bone will be level with the seat bone that is still on the box, and you will be in the middle of the supporting seat bone (Photo 8).
Move so the right seat bone is unsupported. Raise and lower the right seat bone and notice how you move from the outside edge, to the middle of the left seat bone, to the inside edge of the left seat bone. Do you also feel like you are moving along the length of the supporting seat bone as well as the width? If you move only in the vertical plane (down and up) you will roll across the width of your supported seat bone.
If you are arching or rounding your back, leaning forward or back and/or twisting as you raise and lower the floating seat bone, you will feel the contact on your supporting seat bone change along its length as well as width. Experiment with arching, rounding and turning a little as you raise and lower the floating seat bone. Rest with both seat bones on the box. Notice if they feel different from the beginning. Repeat with the left seat bone floating.
Next sit with the right seat bone off the box. Raise and lower as before. Notice as you do this where your head goes. Do you tilt your head one way and then the other as you raise and lower? See if you can send your head towards the sky as you raise your seat bone. What changes in your rib cage? Do you have to use different muscles in your torso? You may notice that when your pelvis is level, your head goes vertically upward. When your seat bone is a little below level, the top of your head moves in the opposite direction. When the seat bone is above level, your head tilts in the direction of the floating seat bone (Photo 9). Sit in the middle and rest.
Moving your knee forward and back
Next sit off to right (right seat bone floating) and determine which foot helps raise your seat bone. Do you want to push with only the right leg when raising the floating seat bone? Can you use your left leg for most of the work? Can you switch so that you can use either leg when raising the floating right seat bone? Switch sides (left seat bone floating) and repeat. Rest.
Now see if you raise your pelvis using either and both legs regardless of which seat bone is floating. Is it easier to send your head more towards the ceiling using only one leg or both legs? Sit in the middle and rest.
Again sit off to the right. This time, place the right foot about 1” in front of the left foot (Photo 10). What happens? Is this hard or easy to sit like this? Again raise and lower the floating seat bone. How is this different from having both feet even? Can you find the middle between raised and lowered? Do you need the left leg, the right leg or both legs to keep your pelvis level? Sit in the middle and rest. After a moment repeat on the left side (Photo 11).
Return to sitting off to the right. Separate your feet as above. Raise and lower your right seat bone until you find the middle. Slowly move your right knee forward as if to push something away from you with your kneecap (Photo 12). Do you want to lean forward to move your knee forward or can you remain upright as the knee moves forward? Can you keep your pelvis level when you do this? Do you feel the muscles on the top of your thigh working (quadriceps) or the underside of your leg working (hamstrings)? What happens to the seat bone on the box? Rest, and then repeat on the other side.
Sit off to the right again. With the feet uneven as before and the pelvis level move your right knee and thigh forward. Return to the starting point, and then draw the right knee back. Go slowly making small movements to insure that your stay level with your head lengthening up towards the ceiling. Sense and feel what is happening to the seat bone on the box. With the pelvis level, you are staying in the middle of the supported seat bone. The pelvis is rotating slightly around the supporting seat bone. Where do you feel the effort?
Intentionally use the hamstring muscles to move the knee forward. If you use the topside of your leg, you will have to lean forward, closing the hip joint, in order to push the knee forward. Do this on purpose, and see how it effects your ability to stay level on the supporting seat bone and what happens to the hip angle of the floating side. Experiment with moving the knee forward and back until you can glide it easily. Notice that as the knee moves, your entire torso turns left and right as if it were a single piece. Rest.
Next, assume the same position as above. Drop your floating seat bone slightly and find out what happens when you attempt to move the floating knee forward or back. Repeat with the floating seat bone above level. Sense and feel that when the pelvis is not level, you are putting more pressure on the inside or outside edge of the supported seat bone.
How does this lesson pertain to riding?
When riding it is important to keep your pelvis level. If you collapse and sit with one seat bone lower than the other the pressure from the inside edge of the supporting seat bone will angle inward towards the horse’s spine. Over time this can cause back soreness and damage to the underlying tissues.
If, on the other hand, you tend to rock to the outside edge of one seat bone and bulge your rib cage to the same side, you may constantly slide off to that side. You may also feel that one stirrup is always longer than the other, and your horse will have to brace to catch your falling weight. In either case, the horse will have to compensate for your position.
After leveling your seat with this lesson, get on your horse. Find what you think is the middle by noting the direction of your head, the evenness of your weight over both feet, and an even feeling in both knees. Ignore the feeling from your seat bones because your saddle and/or your horse’s rib cage (the part that your saddle is strapped to) most likely aren’t level. Now think of sliding one knee forward down slightly. This is the equivalent of moving the knee forward when sitting on the box from the hamstring side of your thigh. Make a small movement allowing your torso to turn slightly. When sliding the right knee forward/down, your body will turn left and visa versa. Observe what your horse does. Then repeat the experiment with one seat bone higher or lower than the other. Feel how this blocks the horse from turning easily.
If you find this lesson particularly useful, you might consider sitting on a box and repeating it for just a minute or two before each ride. As you find a level place independent of the horse and commit to riding there you will wind up with a straighter more balanced horse.
This article originally appeared in Eclectic Horseman Issue No.39