With Buck Brannaman
It seems simple enough: bridling your horse. But for any of us who have inherited a bridling problem with a new horse, or created a bridling problem with our own horse, we know that there are numerous ways to fail our horses when it comes time to put the bridle on.
At his clinic in Eagle, Colorado, last summer Buck Brannaman spent time talking with the horsemanship class about getting your horse ready to bridle and how to bridle your horse smoothly. “Now, I want to just talk to you about putting your snaffles on. When you first put your snaffle on a colt, or on a horse that is not good to bridle, the first thing you need to be able to do is mimic the bridling with your halter on. “You need to teach your horse how to put his head down; this causes the seam of his mouth to be perpendicular to the ground. This allows us to slide the bit into his mouth without hitting him on the teeth. When his head is up, you would have to drag that bit over his teeth, which will make him very touchy about being bridled. “You want several approaches to getting his head down. The most simple is to stand on his left side, with your left hand on the nosepiece of the halter, and your right hand just behind his poll. Move your right hand side to side, with a little downward pressure. Any slight try your horse makes in putting his head down, you would release. Pet him, then start again. Pretty soon, he will move his head down lightly off a suggestion. Your left hand helps to keep him in position.” Another place we can fail our horses is when we go to put their ears under the headstall. “A classic mistake you will see Olympic-class riders make is to pull the headstall back over the horse’s poll, then grab that ear and snap it forward. That hurts them. The ear is not meant to fold in half and then snap forward. You need to hold the headstall up and push the ear forward, the way it is intended to move.” In the first few times of bridling a young horse, or if you are working at getting your horse more confident about being bridled, you would want to leave the halter on. You won’t leave it on when you ride, but just when you are putting the bridle on to help keep him in position.
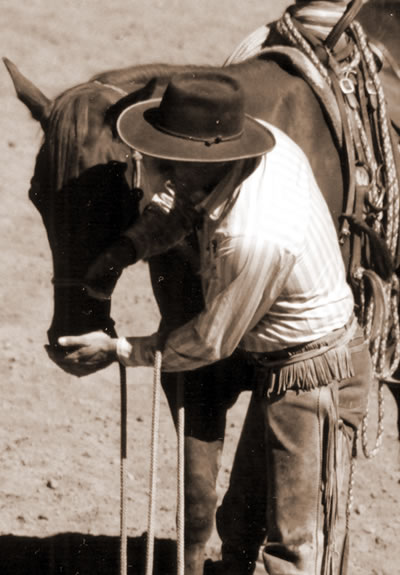
Photo 1
1. Stand on his left. Hold the halter with your right hand and make sure you can get around his mouth. Use a flat hand and deliberate touch so you don’t tickle his very sensitive whiskers.
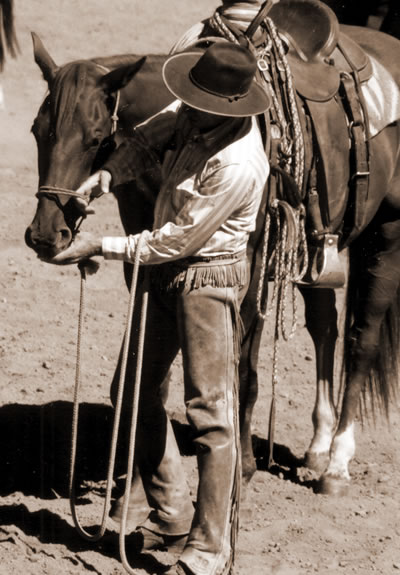
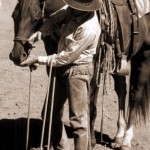
Photo 2
2. Run your thumb in the corner of his mouth and get him to work his mouth. You can teach him to open his mouth to take the snaffle so you would never hit him on his teeth with the bit.
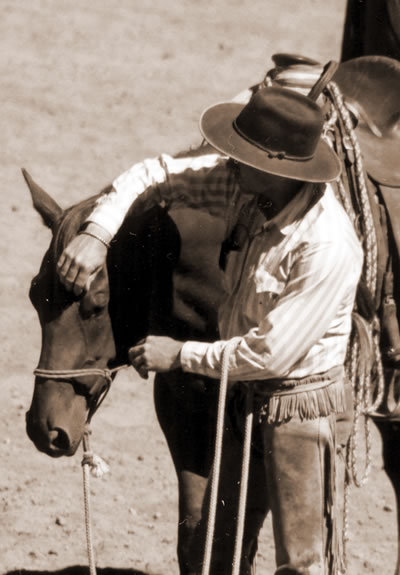
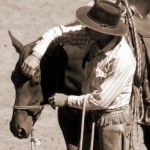
Photo 3
3. Check your horses out around the ears. Make sure that’s OK with them. Simulate where your arm will be when you are bridling, and make sure he is comfortable with that.
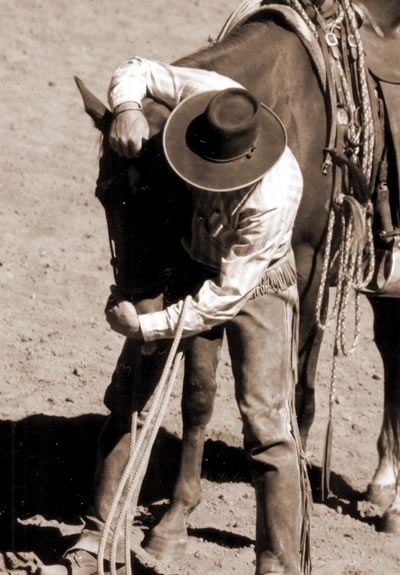
Photo 4
4. You might even take ahold of his foretop here, step underneath him, then imitate being bridled like this. If he were to go to leave, I can take ahold of the halter.
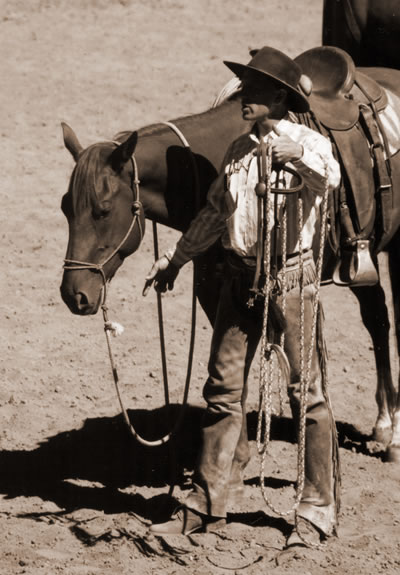
Photo 5
5. In my left hand, I hold this headstall so that it is really wide apart. I don’t hold so narrow that it won’t go over his head. I get it really wide apart like this.
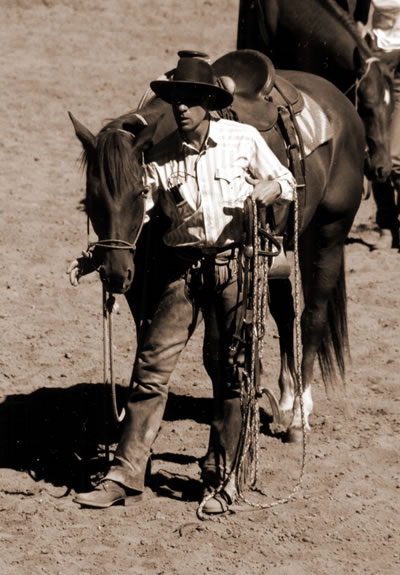
Photo 6
6. From right here, my right thumb is hooked through this halter like that so that I can help get him into position and not be chasing him with the snaffle.
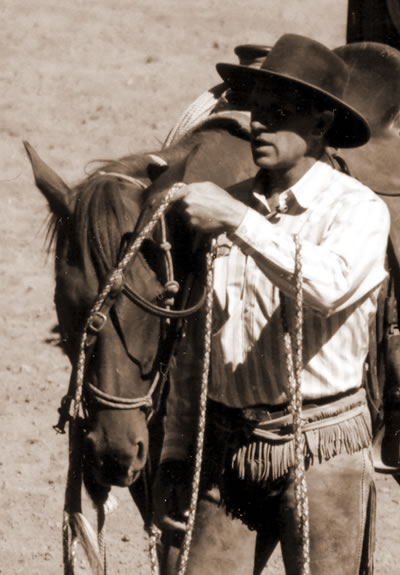
Photo 7
7. I will then put the snaffle under his chin. This is your first stage of bridling. If you can’t do this without him being evasive, you have found something to work on.
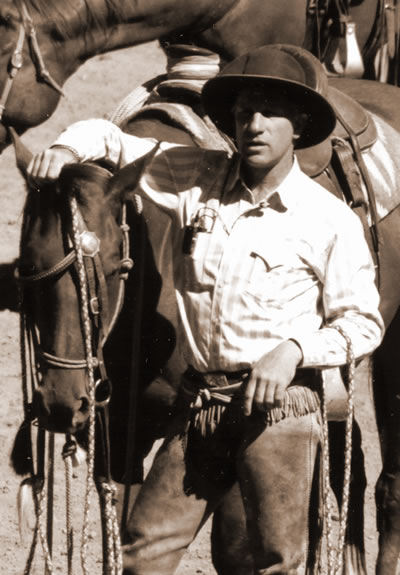
Photo 8
Photo 9
9. This stage is another stopping point. Can you touch him around his mouth and have him all right about it? Is he comfortable with you handling his mouth?
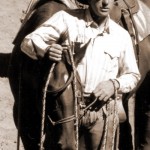
Photo 10
10. If he is wanting to get away, you’ve got your halter right here to help you out. Take ahold of the halter and bring him back; the snaffle is still under his chin.
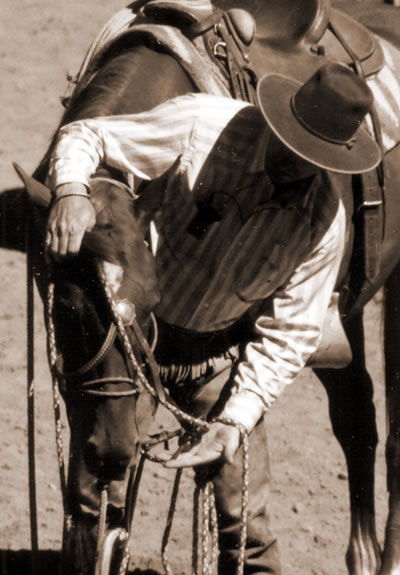
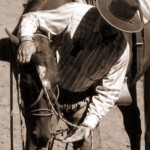
Photo 11
11. From right here, if he’s checked out all right and he opens his mouth for me, I hold that snaffle flat in my hand. That leaves my thumb free.
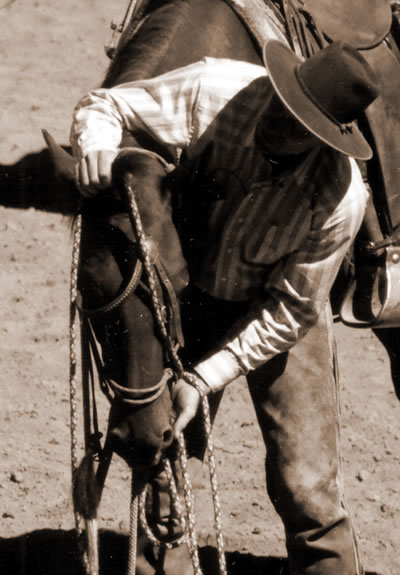
Photo 12
12. My thumb can run into the corner of his mouth, just like we practiced in the halter. When he opens his mouth, I gently lift the snaffle up with my right hand.
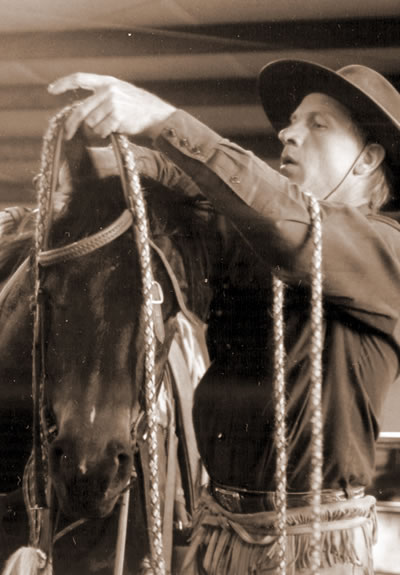

Photo 13
13. I hold the headstall far forward so that I can push the ear straight forward under the headstall without folding or snapping it. Give him lots of room.
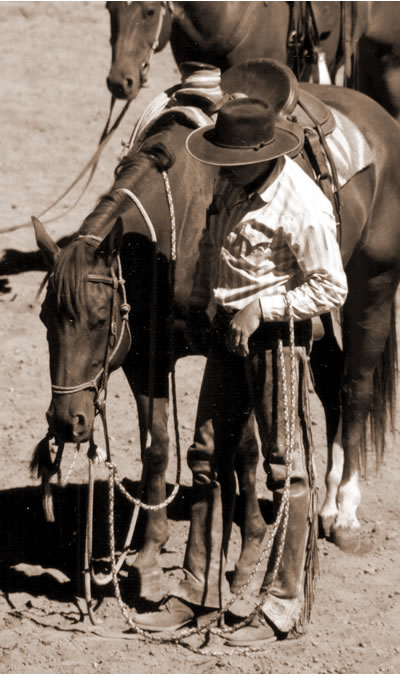
Photo 14
14. At this stage you have to get your halter off, because you wouldn’t want to ride around with your halter under your bridle. It doesn’t look very nice.
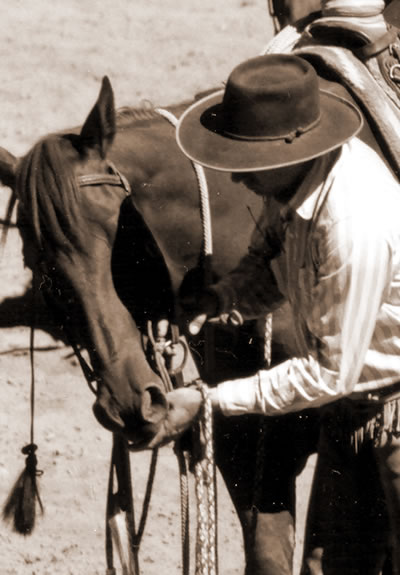
Photo 15
15. I unfasten the halter knot, then bring the nose piece of the halter into my horse’s mouth, back behind the bit, and then out the bottom of his mouth.
Photo 16
16. Instead of just taking advantage of your horse and trying to cram the bridle on him, the next time you ride, see if you can get him completely comfortable first.